It really is true, over the past eight years and even before, we have made more than 60 models of continuously sounding hockey pucks. Here's how the Mooses construct the hockey puck we presently use.
We understood from the outset of our program that if blind people were playing hockey, they would need to hear the puck, as they could not see it. For us, a "continuously sounding hockey puck," has always been a necessity. In October of 1987, Coach Danny cut two holes in a rubber, regulation ice hockey puck, and inserted the buzzer used in a beep baseball together with a 9-volt battery. It worked just fine for inline play, but we never tried it out on ice til 2015. The buzzer was not moisture resistant and is not completely suitable for ice play. We found that encasing the sounding assembly in plastic, like a sandwich bag, prior to inserting the assembly into the puck casing, would keep the puck functioning for about an hour. We went on from there.
We continue to modify, improve, and try out new components of the puck. Our present model is perhaps not the ultimate. Note that we are not buying something ready made by some manufacturer. We construct the puck from readily available components, each of which is produced by some company for use other than in a blind hockey puck. The exception is the outer puck casing itself, which we have fabricated to specification by a local El Paso company, Dominguez Sheet Metal. You can also use two 4" PVC drain pipe covers, cut to size, as a lighter, plastic puck casing (see below).
We note that this sounding hockey puck requires hands-on maintenance to use effectively. You must assemble the components as shown below. You must change the battery every 60-90 minutes of use. You must know optimum battery storage practices. The puck gets slammed and banged around in normal play. Battery connections break, wires break. You must have some minimal knowledge of electrical wiring. Splicing and soldering knowledge helps. Whenever a sound assembly "goes dead," you must take it apart and see what has disconnected. We use Gorilla Tape (tm) a lot. We have refused to install an on-off switch to the system, preferring to splice/connect the lead wires by hand prior to and disconnect the leads subsequent to each use. So, you need at least one member of your hockey club able and willing to maintain the electronic hockey puck and sounding assembly in order to use this puck effectively. This does require attention and effort.
Here is how we assemble "Bub," the present Mooses' sonic inline hockey puck.
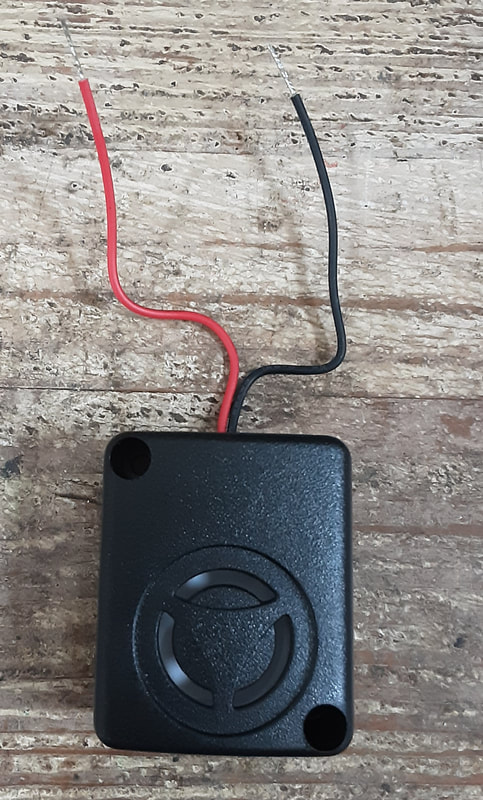
New sounding device. Siren from Jameco.com, bought on line, part number 2231849. Smaller, lighter, and just as powerful, if not more so, than ever before.
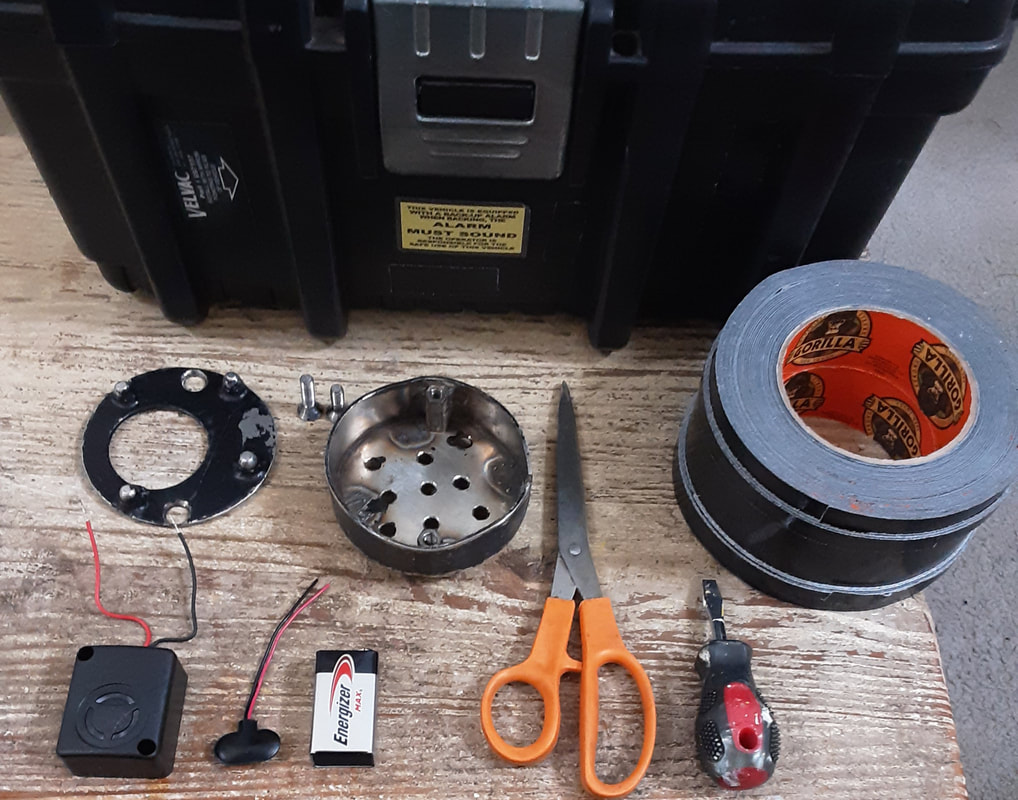
Component parts:
1. Bottom left; piezo siren,"Piezo Siren," Jameco part number 2231849
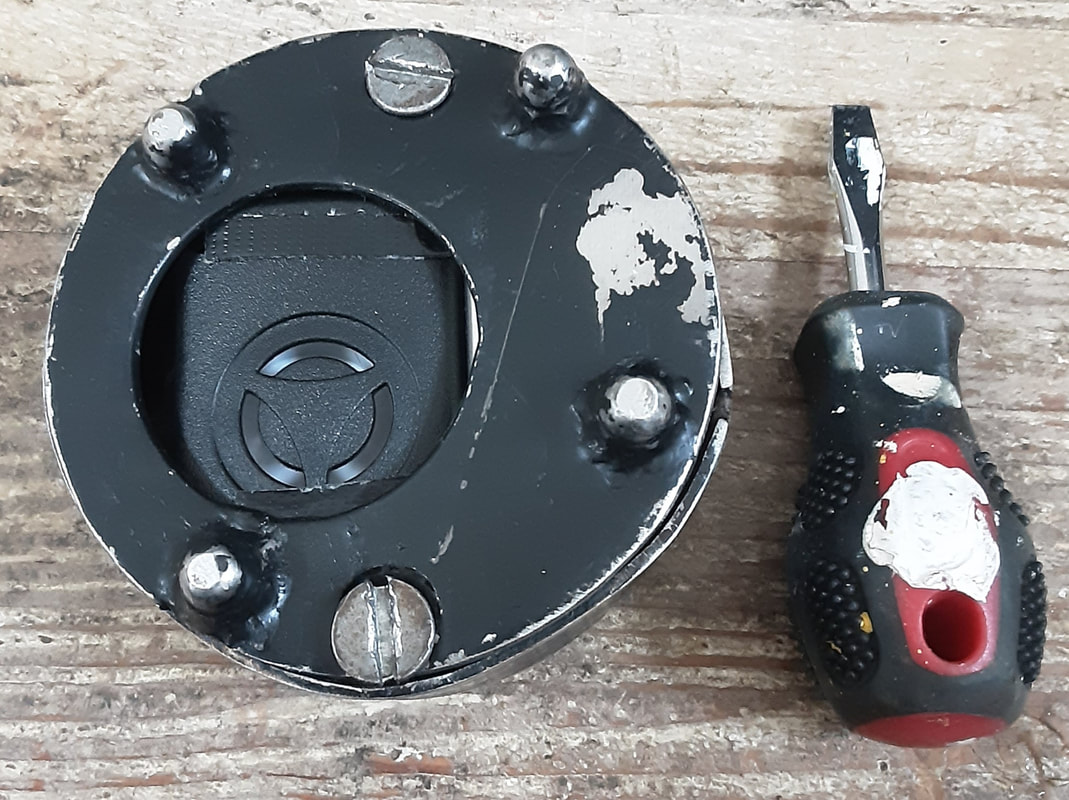
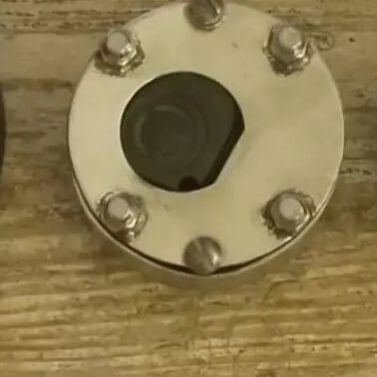
2. upper left; stainless steel metal casing, lid, bolts
3. lower center; a 9v-battery snap, a standard 9v battery.
1. Bottom left; piezo siren,"Piezo Siren," Jameco part number 2231849
2. upper left; stainless steel metal casing, lid, bolts
3. lower center; a 9v-battery snap, a standard 9v battery.
New, important procedure...
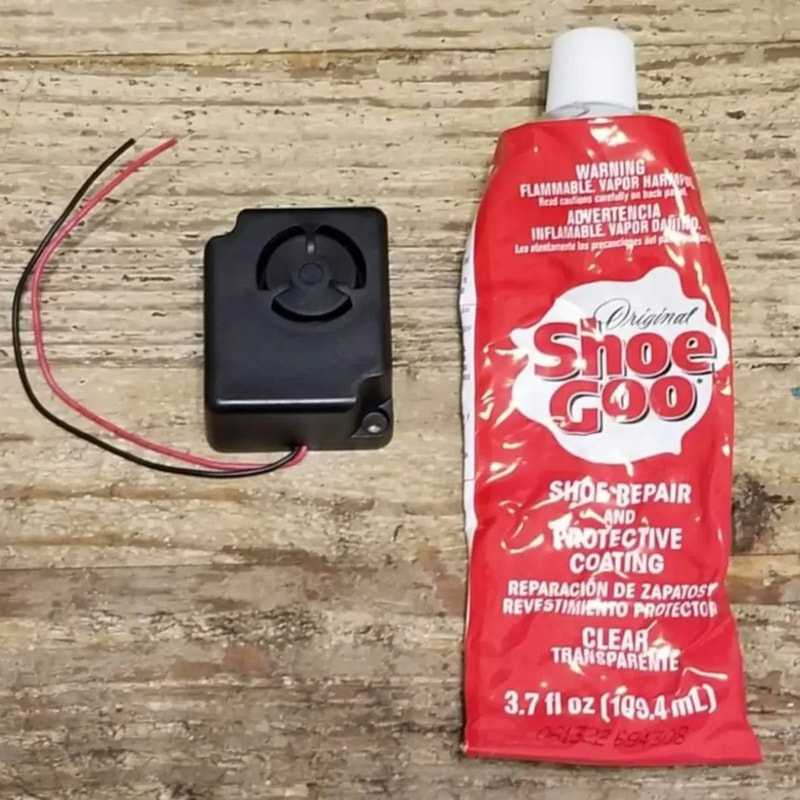
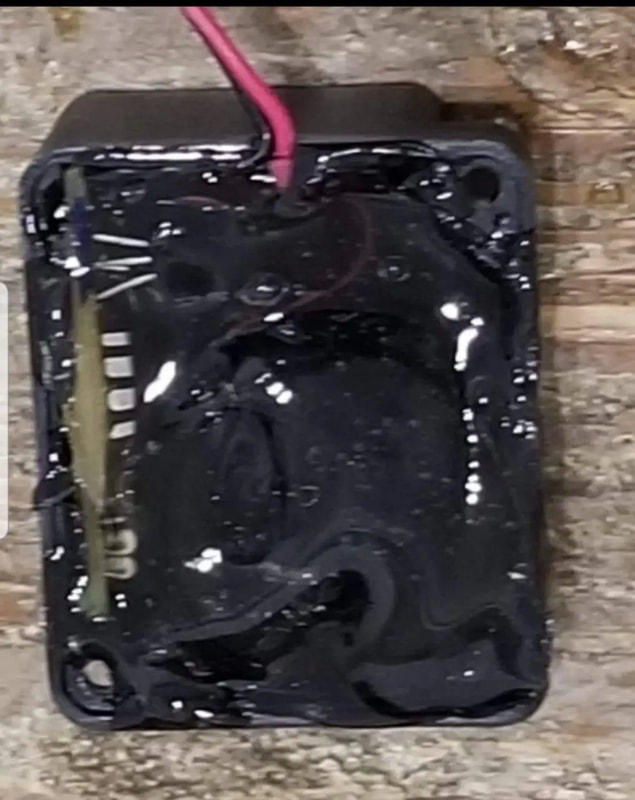
You must open the back of the siren casing, and fill the entire compartment with the Shoe Goo (tm). This encases the circuit board in epoxy and renders it impervious to breakage.
You must open the back of the siren casing, and fill the entire compartment with the Shoe Goo (tm). This encases the circuit board in epoxy and renders it impervious to breakage.
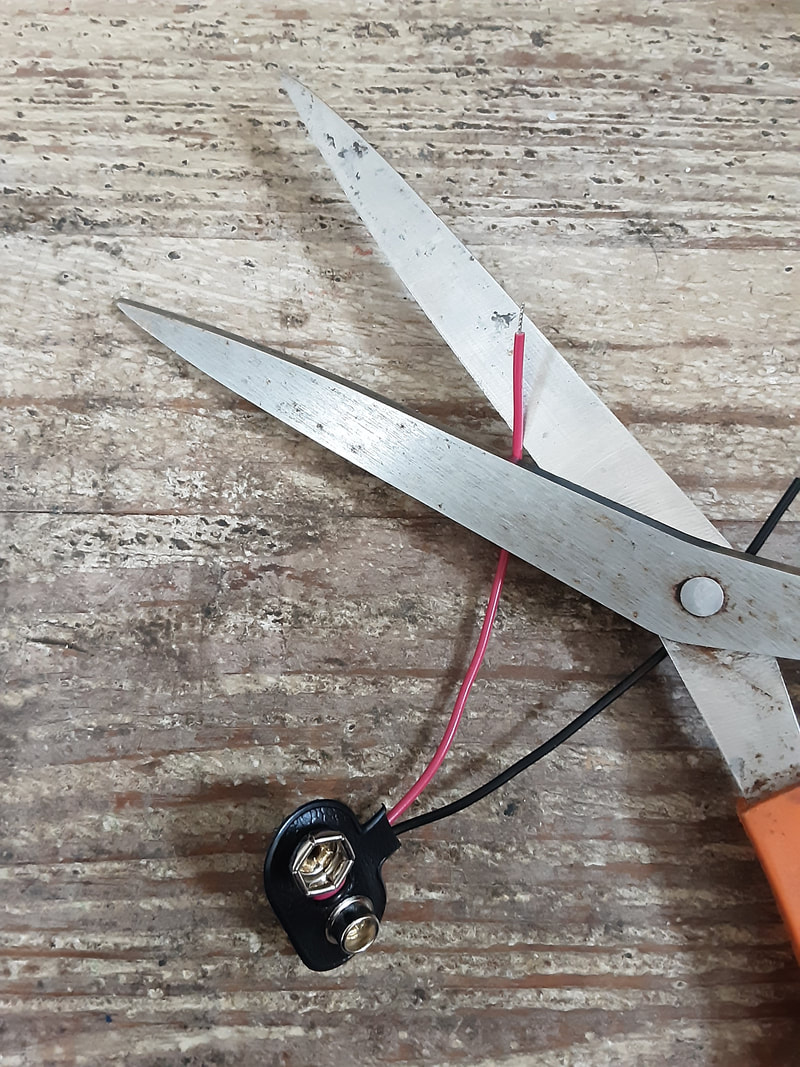
Trim the leads, about one half to three quarters of an inch of bare wire. Note that this takes some finesse to cut through the plastic insulation, without cutting the metal wiring.
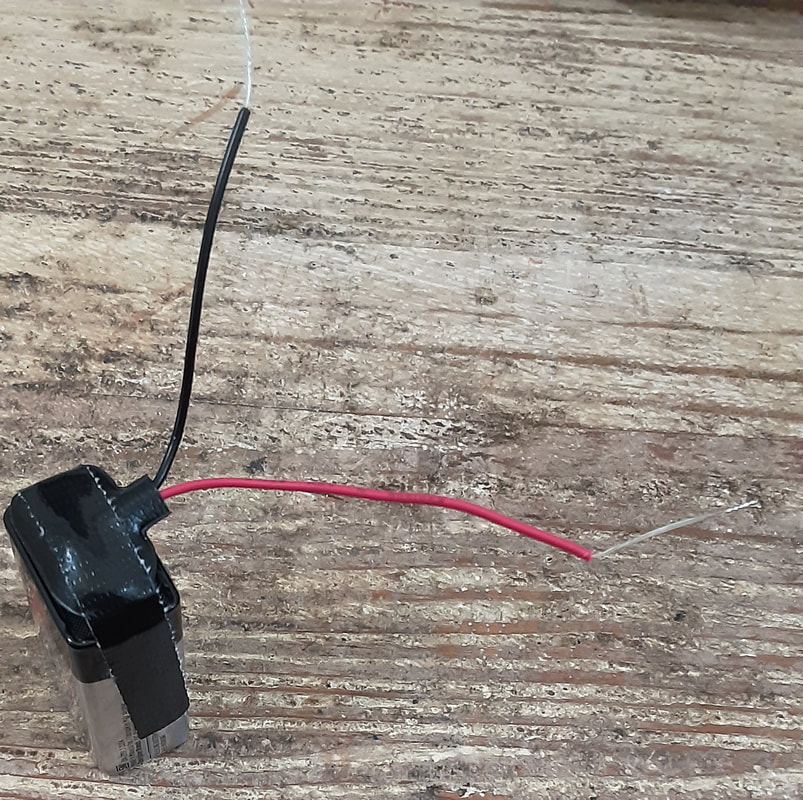
Attach the battery snap to the terminals on the battery. Tape them firmly into place. If this is not done, the battery snap will become dislodged during play.
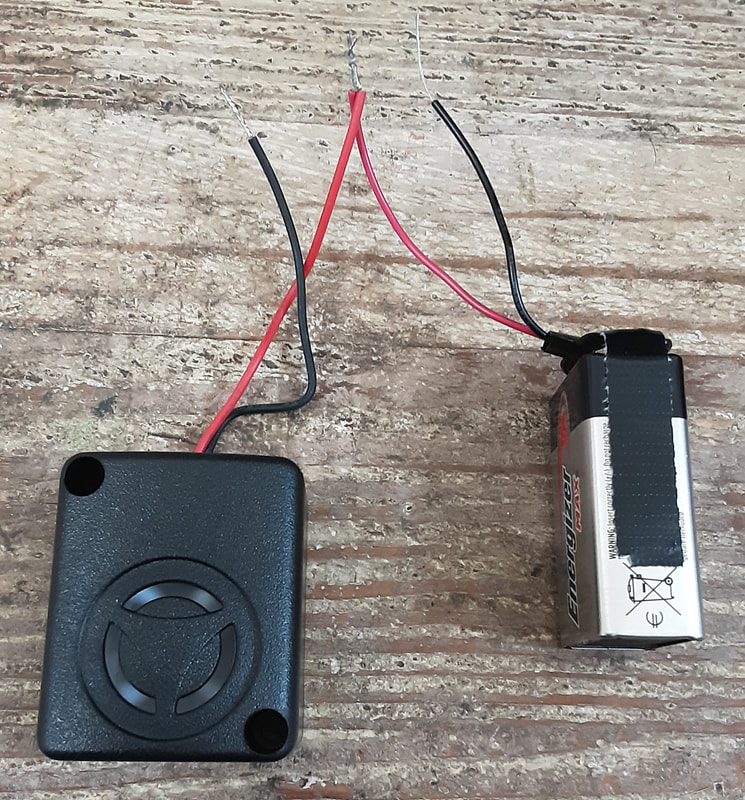
Connect the red leads, simply twisting them together.
Connect the red leads, simply twisting them together.
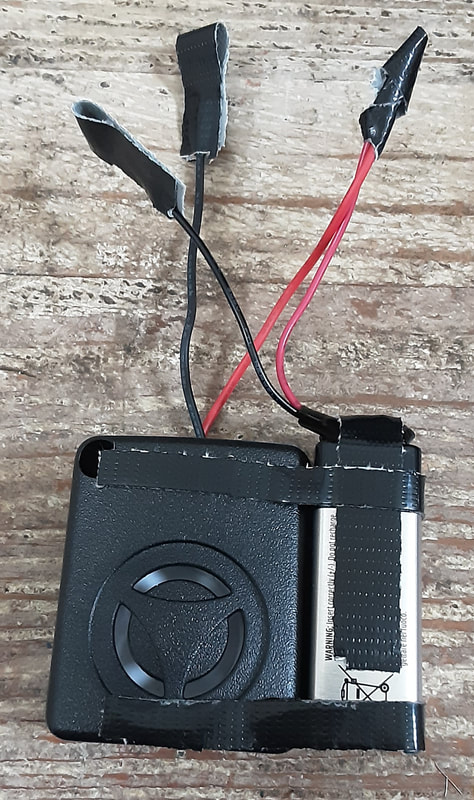
Fasten the battery to the device. By the way, in all this taping, we really do exclusively use Gorilla Tape (tm).
Loosely cover the black wire leads with Gorilla Tape (tm)
Fasten the battery tightly to the side of the siren.
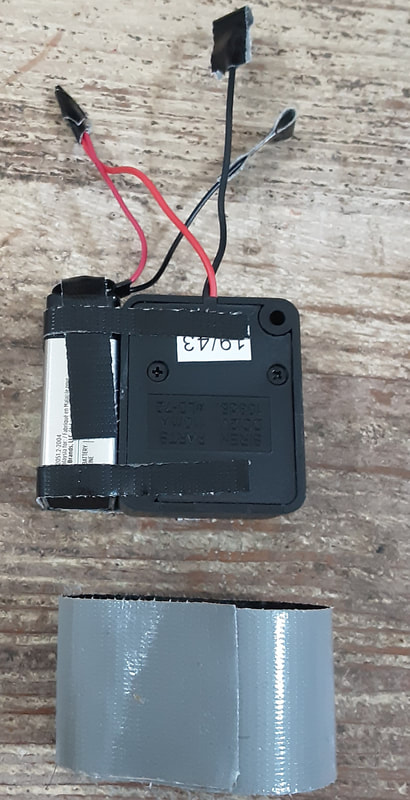
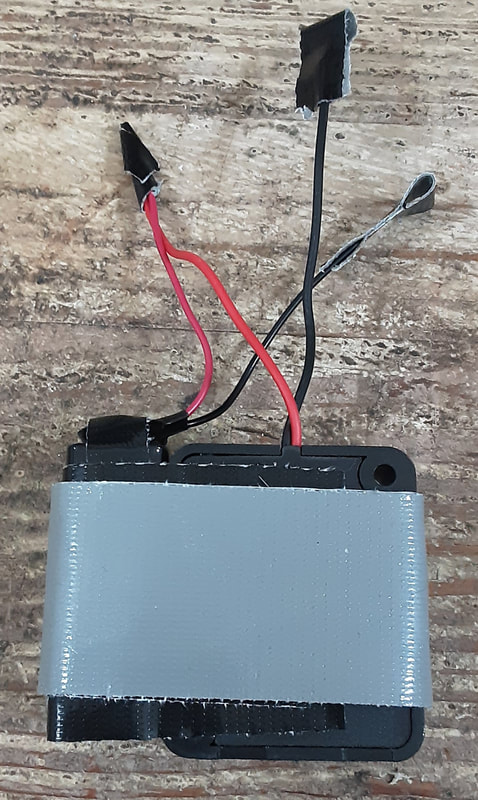
Make a loop of Gorilla tape.
Fasten the tape loop firmly to the underside of the siren/battery assembly.
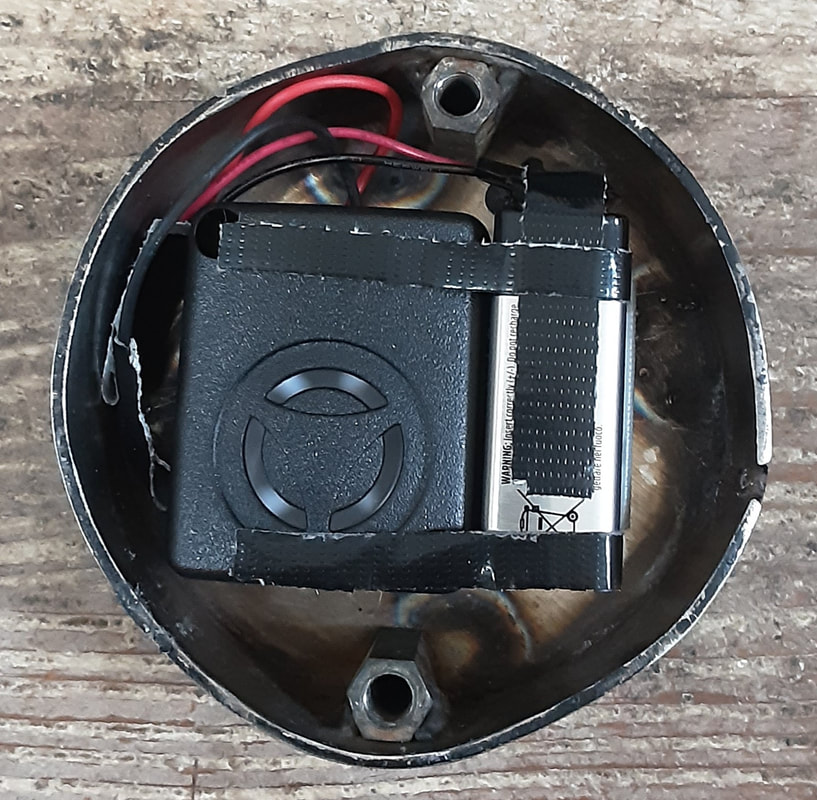
Place the sounding assembly inside Babs, place the wire leads in the spaces.
Tare care to firmly fix the assembly in the center of the puck casing, so that it does not touch the metal walls of the casing.
Bolt on the lid.
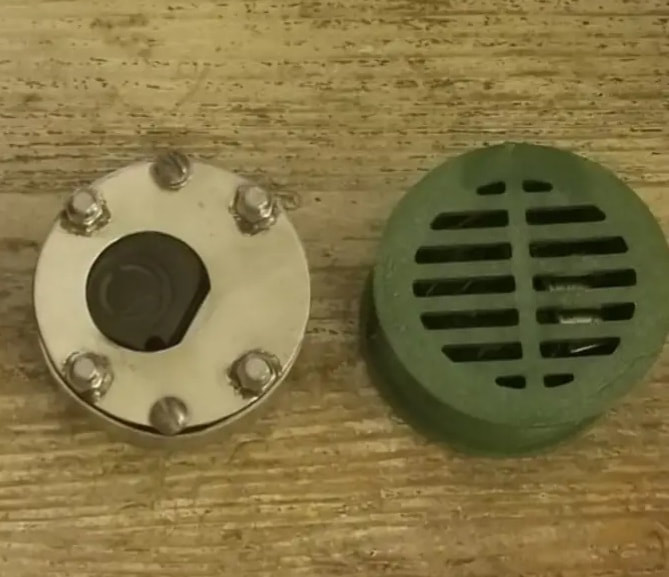
The two puck casings we currently use to play Sonic Hockey:
Left: Bub, polished stainless steel, very spiffy at 360 grams weight (13 oz)
Right: PVC casing made from two drain pipe covers, weighs only 7 oz, slides well on concrete or MacAdam type playing surfaces...
Left: Bub, polished stainless steel, very spiffy at 360 grams weight (13 oz)
Right: PVC casing made from two drain pipe covers, weighs only 7 oz, slides well on concrete or MacAdam type playing surfaces...
(Right) the PVC plastic casing puck with siren sounding assembly, 8 oz in weight.
(left) the stainless steel casing, with siren sounding assembly, 13 oz in weight
We note that, in unanimity, the Mooses players prefer the solidity and feel of the metal casing, which makes the puck dramatically easier to touch and control with the stick. The Blind Inline Hockey player finds that his/her ability in catching, stickhandling, passing, and shooting the puck all benefit from the extra firmness in the stainless steel material.
Both casing models will work well on either a polypropylene inline floor or an ice surface.The PVC casing will also work on a concrete or other, non-plastic surface.
That's all there is to it. You buy the parts and assemble the puck. The Mooses do not enforce a patent on this construct, and we expect no one else to do so. The ability for anyone to produce this piece of equipment is, and must remain, in the public domain.
Further, we encourage and support all programs to experiment and improve on this concept. Please let all of us know when you come up with something better.
